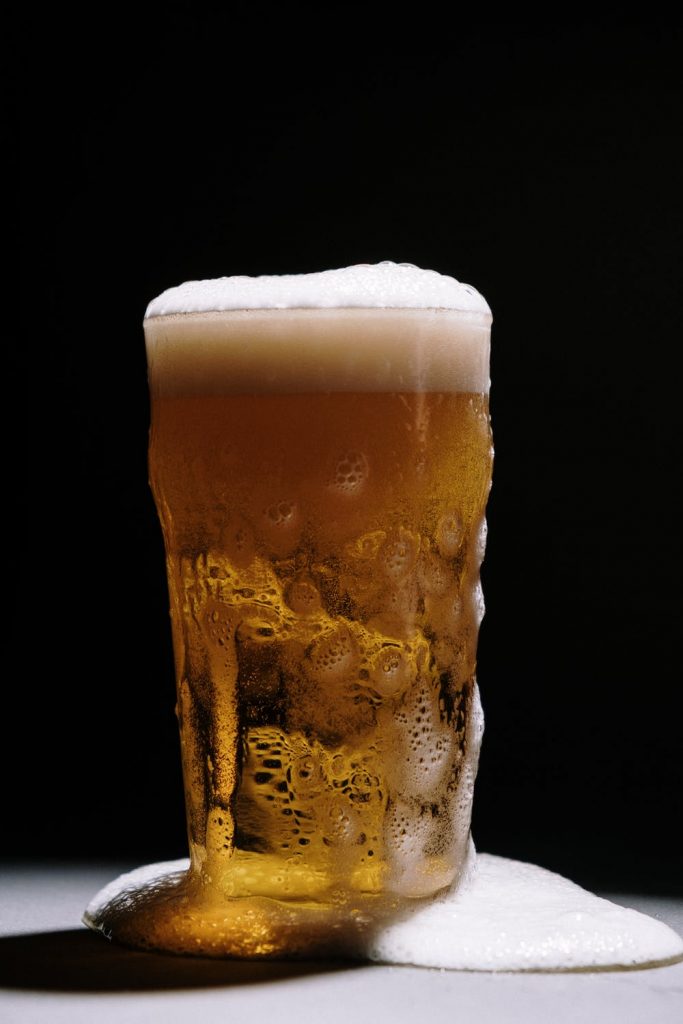
For those of you who do not know about it, the Pilsner is a pale lager beer. It is also the world's first every pale lager.
Therefore, the Pilsner beer is named after the city of Pilsen, where it was brewed for the first time in 1842.
If you are a Pilsner enthusiast or someone who wants to try something new, look no further.
You’d be surprised to know that you can replicate this characteristic hop-flavored lager beer and how to brew pilsner at home.
Read more about home brewing beer process.
Our all-grain beer recipe is tailor-made for beginners and intermediates to try out. But being a lager beer, it would need to be conditioned at low temperatures.
Read more about Lager vs Pilsner differences.
It is advisable to have a refrigerator with a controllable temperature for this purpose. If this happens to be your first lager, it is better to read up on it first.
What you need for the brewing recipe is a basic setup, as well as a refrigerator enabled with temperature cooling. Apart from that, an extra-large mesh grain bag and a 7.5-gallon capacity kettle.
Extra points if you own a brewing thermometer. Lastly, a stockpot that is large enough to heat 3 gallons of water is strongly recommended too.
However, it would be best to make sure that the stockpot is functional in terms of heating only and does not boil.
The active time involved in the brewing process is close to 8 hours. But on the whole, it takes up to 9 weeks to get the final foam.
This time frame includes everything from heating to fermentation and, ultimately, cold storage.
Read more about How to brew Lager at home.
Now that we have covered all the basics, it is time to get onto the central part of brewing pilsner. The steps can be a little tricky the first time but are easy enough to master along the way.
First and foremost, remember that huge 7.5-gallon capacity kettle we mentioned right at the beginning? Line that up with the extra-large mesh bag, connecting both ends.
Set the temperature to 157 degrees F after filling it with 2.5 gallons of water from your tap. Once done, remove it from the heat.
Next, add 7 pounds crushed pilsner malt on top of the water that is inside. Mash in this mixture slowly and stir for about 2 minutes. Stirring will help prevent grains from being clumped together or creating balls of it.
Once it starts becoming a clear and consistent mash, make sure that the temperature gets equalized gradually. It should be no more than 148 degrees F at this point.
Then, the mash needs to be covered and kept like that for a while. You would need to stir firmly at 20 minutes intervals, and those are the only times you can uncover it.
While this process takes place, simultaneously heat another 3 gallons of water at 190 degrees F.
You can rest for about 60 minutes while it boils. Once the hour is up, carefully pour out the 109 degrees F mixture inside the kettle containing the mash.
Stir the new mixture and equalize the temperature to bring it down to near 107 degrees F.
Now, gently take the grain bag and separate it from the liquid. This will allow the wort to dry out. While it is draining, hold the grain bag for 5 to 10 minutes above the kettle.
Add 6.5 gallons of water to top off the wort. After that, add in the extra dry and extra light malt extract.
Now the wort needs to be brought to a sturdy boil. Once it does start to boil as desired, it is finally time to take out the Saaz hops. This is the crucial ingredient that gives the Pilsner its characteristic hop flavor.
So, bring out a bag of mesh and add 1.5 ounces of the Saaz hop to it.
Boil for another 70 solid minutes. Then 1 ounce of Saaz hop goes into a second mesh bag.
When it gets to 80 minutes of boiling, another 1.5 ounces of Saaz hop goes inside another mesh bag.
After a total of about 90 minutes of boiling, remove it entirely from heat. Add yet another ounce of Saaz hop in a third mesh bag.
But be warned about a highly vital requirement at this stage. Just as the wort cools down to 180 degrees F, any surface that comes in contact with it should be sanitized. In addition, the possibility of it being exposed to open air should be minimal.
Now the wort needs to be thoroughly cooled. You can do this by using a chiller, the readily available kind. Or you can use an ice bath. Regardless of which one you use, keep it till the temperature cools down to 70 degrees F or below.
Following this, transfer the wort to a sanitized fermentor. It can either a fermentation bucket or a carboy as per your preference or comfort. Then, place the carboy or the fermentation bucket in a refrigerator with temperature control. Set it at 48 degrees F.
At this point, it is necessary to take a gravity reading with a hydrometer. But first, make sure you remove enough of the wort to be able to do that. A thoroughly sanitized and automatic siphon racking crane would be able to serve the purpose perfectly after that.
Once you take the gravity reading, take note of the number. You would need it during and after the fermenting stage to determine the alcohol content.
If you have followed everything closely this far and are on the right path, the reading should read near about 1.054. Once it gets close to this figure, you can safely cover the fermentor using an airlock with a disinfected stopper.
Keep a check on the cooling wort. Once the temperature dips below 50 degrees F, stir it with some vigor for a minimum of 5 minutes.
After that, add the two 11.5 grams of yeast packages. As we have mentioned before, the Saflager S-23 is our recommended variety.
Once the yeast is added, you can sit back for three weeks as it ferments. But make sure the temperature is set at 48 degrees F while it does.
Three weeks later, fermentation would be complete. Transfer the wort to a thoroughly sanitized carboy or bucket. This would help the beer form a diacetyl substance in just 12 hours if left at room temperature.
Next comes the lager stage. Set the refrigerator temperature to 35 degrees F and place the carboy or fermentation bucket in it. Sit back and wait for another 4 to 6 weeks.
Take it out after 4 to 6 weeks, and add some priming sugar. Make sure the amount of sugar matches up to carbonation that is of a medium level. After this, all that is left to be done is bottle it up, and voila! You can enjoy your hand-made Pilsner.
Lager beers require cool fermentation, followed by storage in cold temperatures. The Pilsner is no exception.
It is advisable to be acquainted with the brew-in-a-bag homebrew process before getting started. Follow the steps above and you will have your perfect Pilsner ready in no time. Happy brewing!